
Requesting and cancelling leave
Send a leave request, track its status, and cancel one you no longer need.
For the quick walkthrough, see How do I request time off? — this page is the detail behind it.
- 1
Choose a leave type
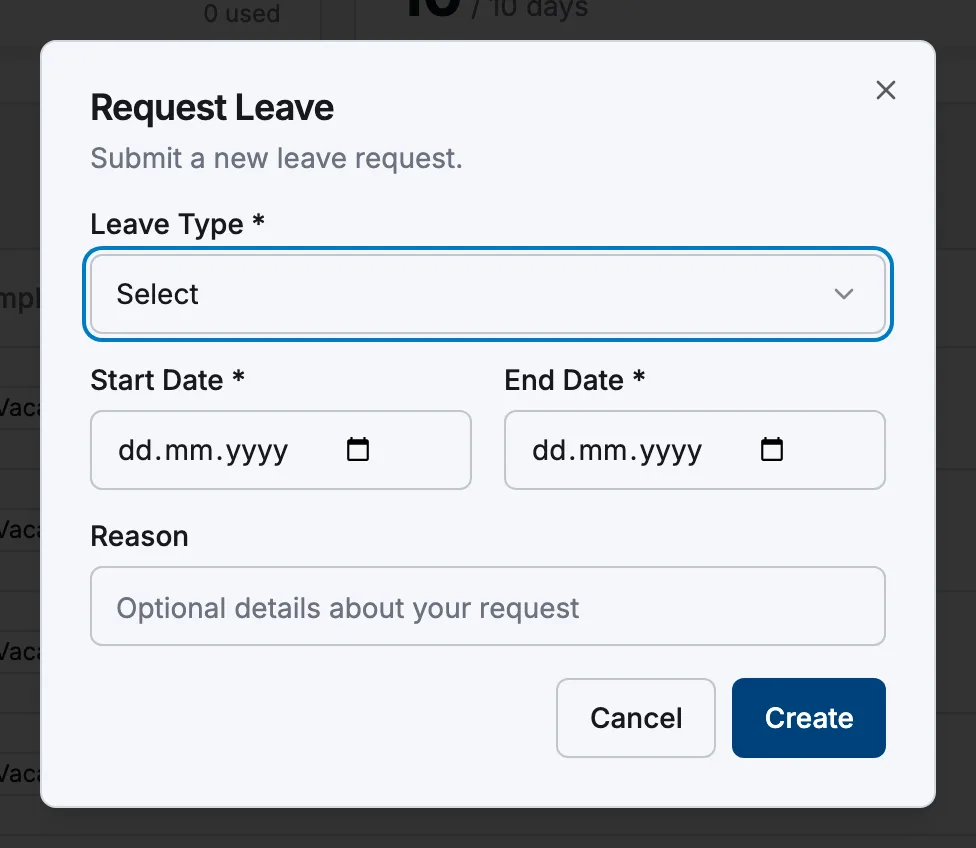
Leave Type lists the leave rules your company has set up — often Vacations, Sick Leave and Personal Leave, though the names and allowances vary. An empty list means an administrator hasn't added any yet. Pick a type with an allowance and you see X days available.
- 2
Set the date range
Start Date and End Date are whole days and both are included, so a single day off is the same date twice. Atteny counts the span for you (N requested) and refuses a range that ends before it starts.
- 3
Add a reason
On the phone the Reason is required — submitting without it shows Please fill in all fields. On the web it's optional. Either way, whoever reviews it sees your reason next to the dates, so one short line helps.
- 4
Submit
Tap Submit Request (Create on the web). Ask for more vacation than you've earned so far and Atteny may refuse it, telling you how many days you can take — that check is the Cap usage at earned days setting in Settings → Leave policies. For other leave types, going over your allowance is only a warning; the request still goes to your manager.
What each status means
- Pending — sitting with your manager or an administrator.
- Approved — booked, and the days now count as used against your allowance.
- Rejected — turned down; the notification you get carries the reviewer's note.
- Cancelled — you withdrew it. It counts for nothing but stays in your history.
The days available figure only reflects leave that's already approved, so a pending request doesn't reduce it yet.
Cancelling a request
While a request is still Pending, tap the ✕ next to it in the app — or the trash icon on the web — and confirm. It flips to Cancelled rather than vanishing. Once a request has been approved or rejected the option disappears: you can't undo an approved booking yourself, so tell your manager if your plans change.
Where your days come from is covered in Leave balances.
Related articles
Still need help?
Contact support