
Scheduled email digests
Have a report land in your inbox on a schedule instead of remembering to open it.
A scheduled report emails a summary of one report to admins or to a location's managers, on repeat. You set it up once under Settings → Messaging → Scheduled reports.
- 1
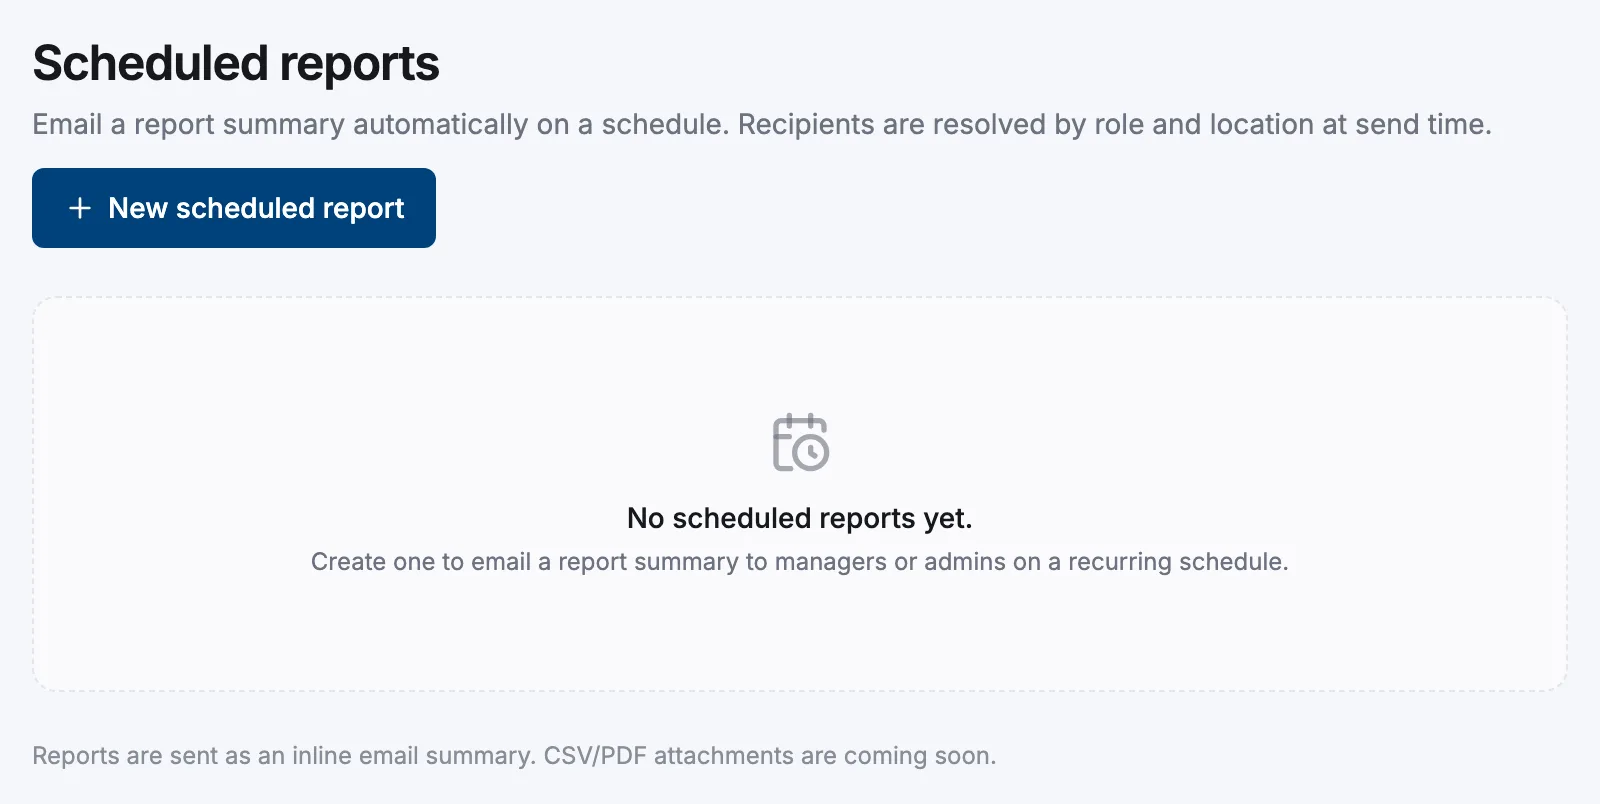
Open Settings → Scheduled reports
Select New scheduled report in the top-right corner.
- 2
Pick the report
Any of the four reports can be scheduled: Hours worked, Attendance & exceptions, Schedule vs actual and Location summary. See Reports for what each one contains.
- 3
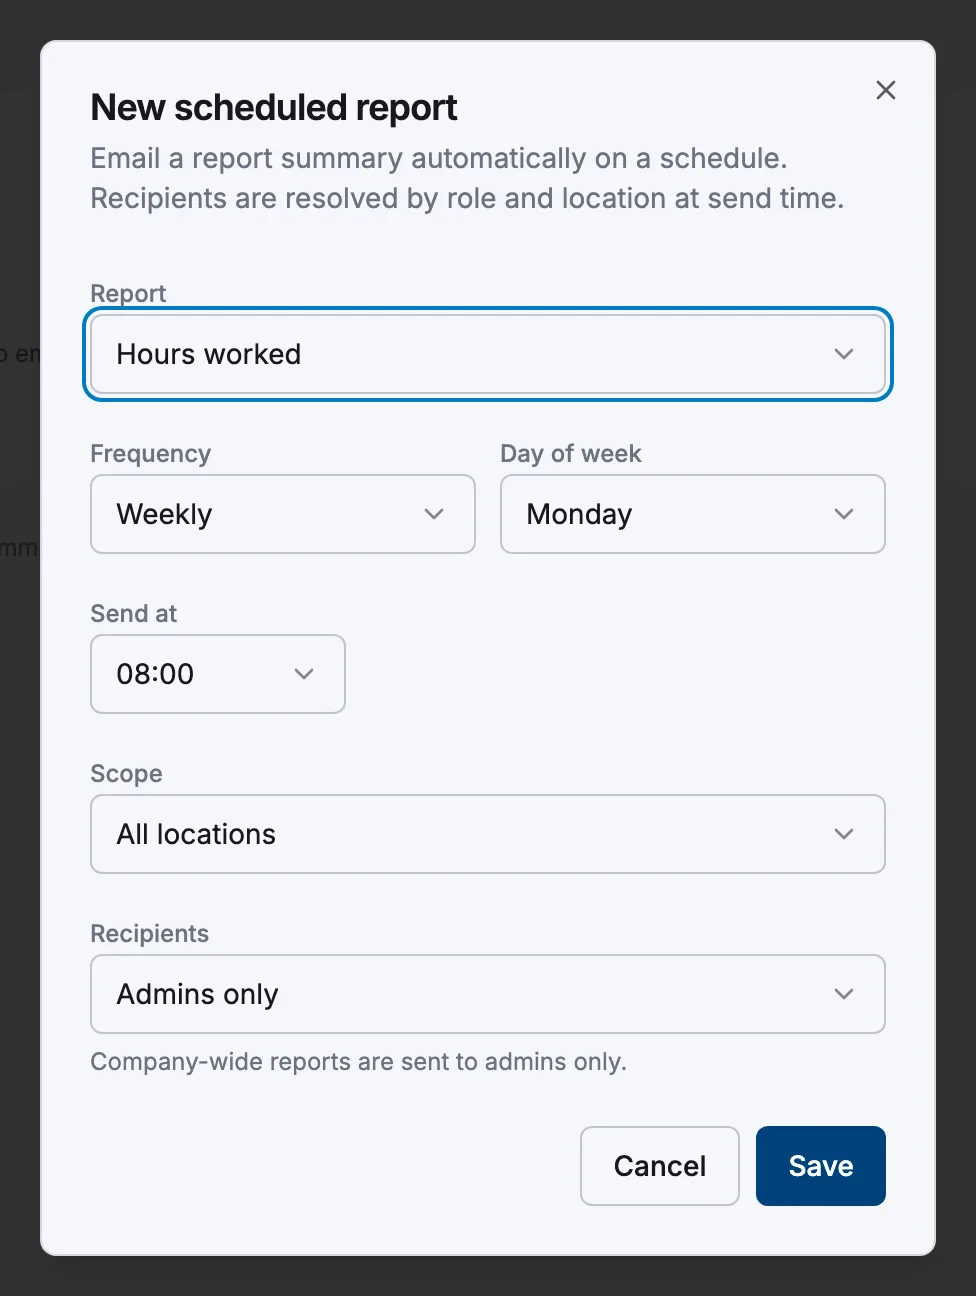
Choose the cadence
Set Frequency to Daily, Weekly or Monthly, then the Day of week or Day of month (1–28), and Send at — a whole hour, read in your company timezone from Settings → General.
- 4
Set scope and recipients
Scope is All locations or One location. Recipients is Admins only, or Location managers — the latter is offered only for a single location, because company-wide figures go to admins only.
- 5
Save
Each row then has an Active switch to pause it, plus edit and delete icons.
What period the email covers
Each send summarises the last completed period, so the numbers don't move after they land:
| Frequency | Period covered |
|---|---|
| Daily | Yesterday |
| Weekly | The last complete Monday–Sunday week |
| Monthly | The last complete calendar month |
What arrives
A summary in the body of the email: a few headline figures, a table of up to 25 rows (with a "+n more" line if there are more), a total row, and an Open in Atteny button to the full report. It isn't a file attachment — to get one, use Exporting to CSV and PDF.
The Location summary sent to admins includes a Labor cost column. That figure is estimated from tracked hours and configured rates, and the email says so — see What estimated earnings means.
Related articles
Still need help?
Contact support