
Set your company basics
Set your company name, logo, country, timezone, currency and date display so everything in Atteny reads the way your business expects.
Your company basics are the details Atteny uses everywhere: on schedules, timesheets, pay figures and exported PDFs. It's worth setting them once at the start so dates, times and money look right for everyone on your team.
- 1
Open Settings → General
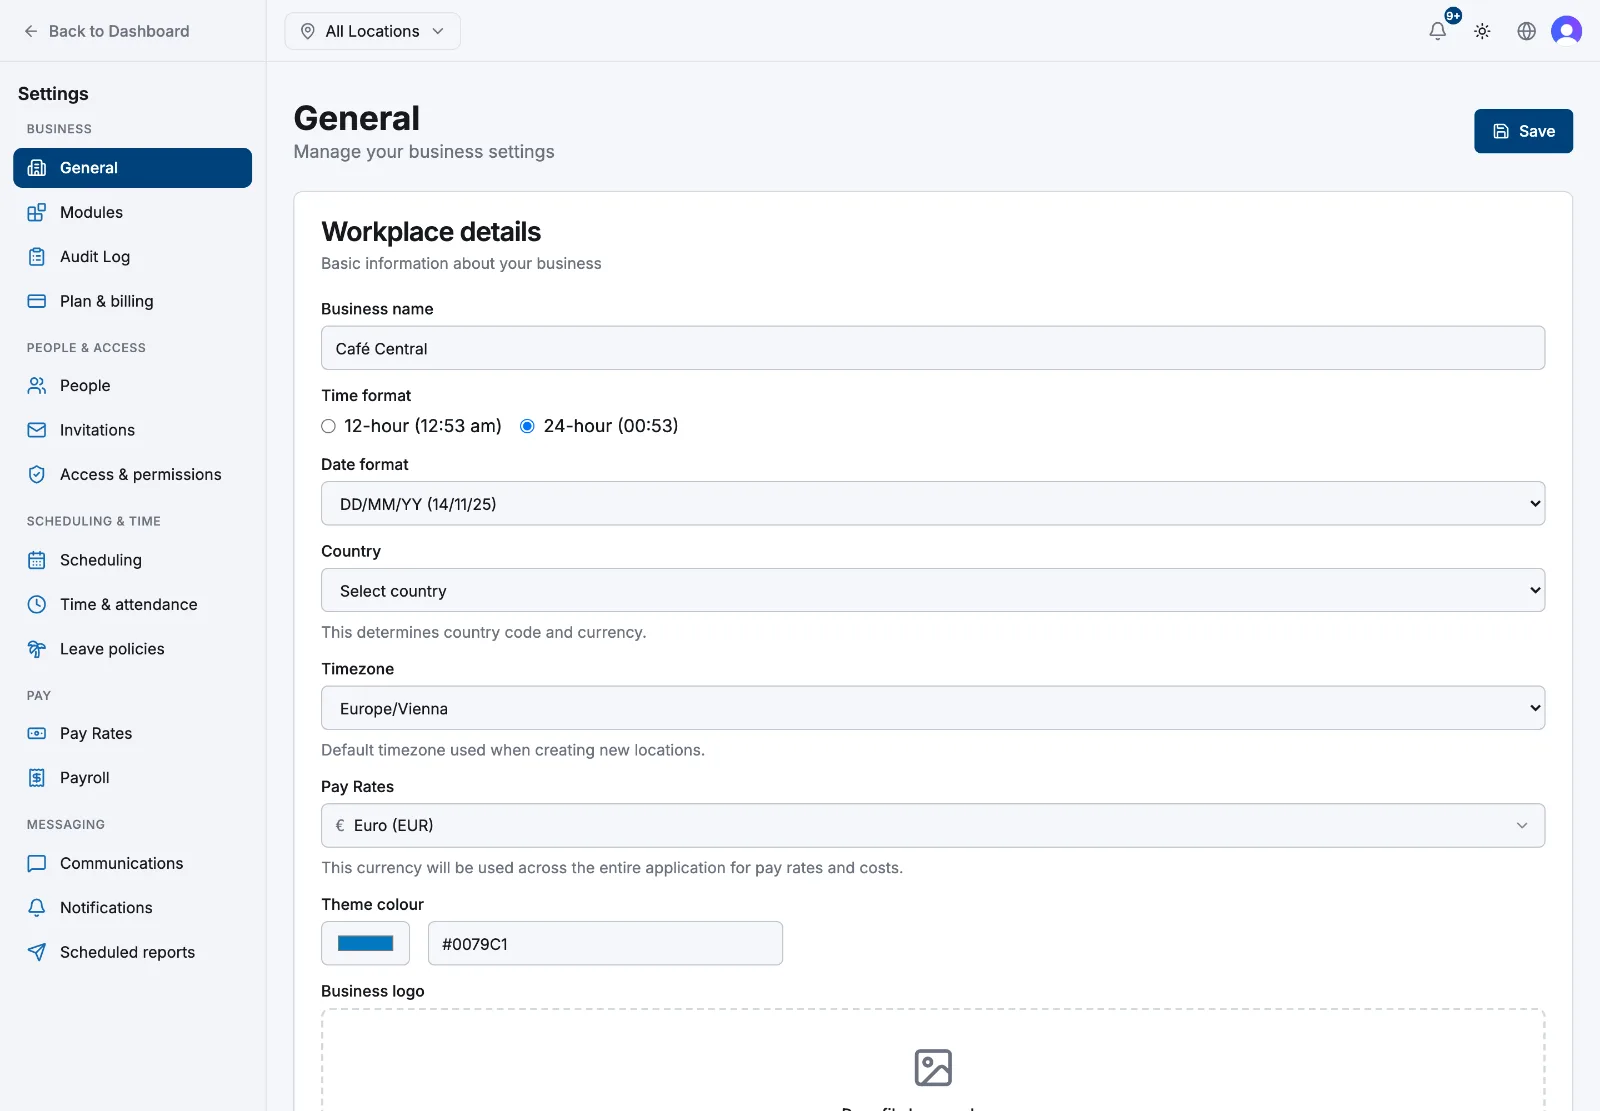
Go to Settings in the sidebar and select General. You'll see the Workplace details card with all of your company basics in one place.
- 2
Set your business name and logo
Type your company name in Business name. This is how your business is labelled across the app and on exported documents. Under Business logo, drop in or choose an image to show your brand on payslips and reports. A square logo of at least 200×200 px works best; the maximum size is 5MB (PNG, JPG or GIF).
- 3
Choose your country
Pick your Country from the list. This determines your country code and the default currency, so set it before you fine-tune the fields below.
- 4
Set your timezone
Choose your Timezone. This is the single timezone that governs how every clock-in, shift, schedule and report is read, on both the web dashboard and the mobile app. There is no separate per-location timezone; this one setting keeps your whole company on the same clock.
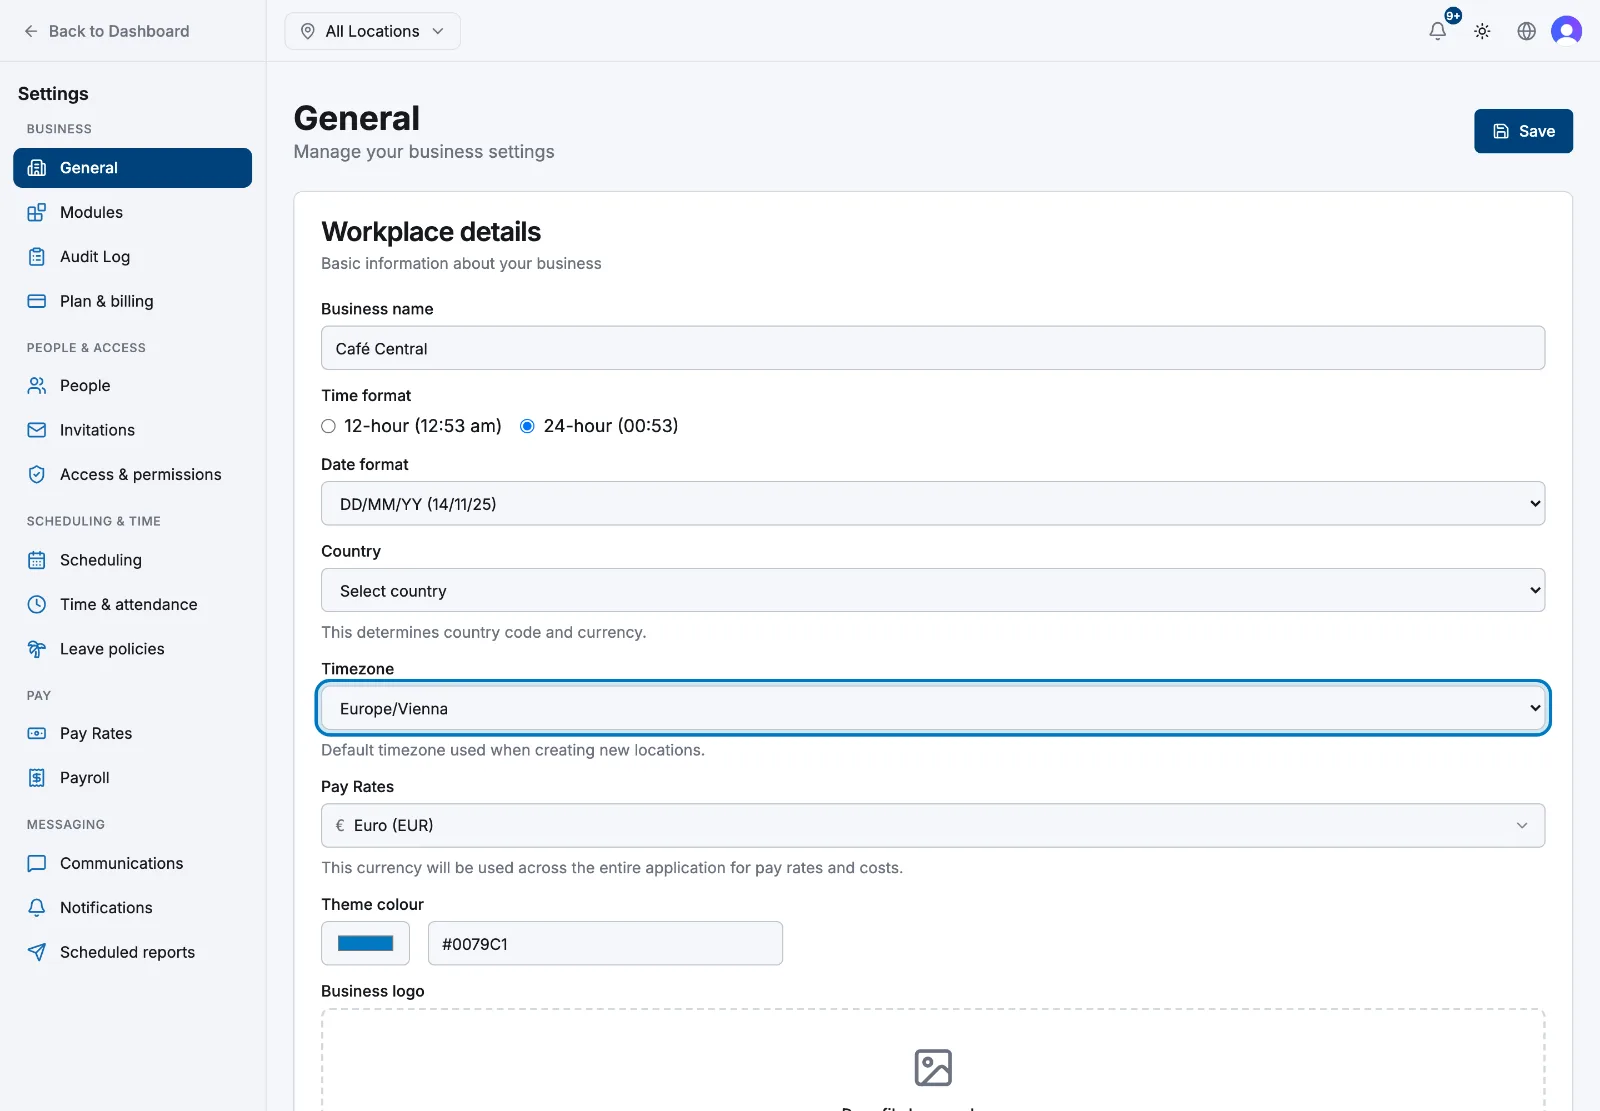 Changing the timezone later shifts how existing clock-in and shift times are shown across the whole company. Set it correctly at the start and only change it if your business genuinely relocates.
 - 5
Pick your currency
Set your currency in the Pay Rates field. The currency you choose is used across the entire application for pay rates and labour costs, so pick the one your business actually pays in.
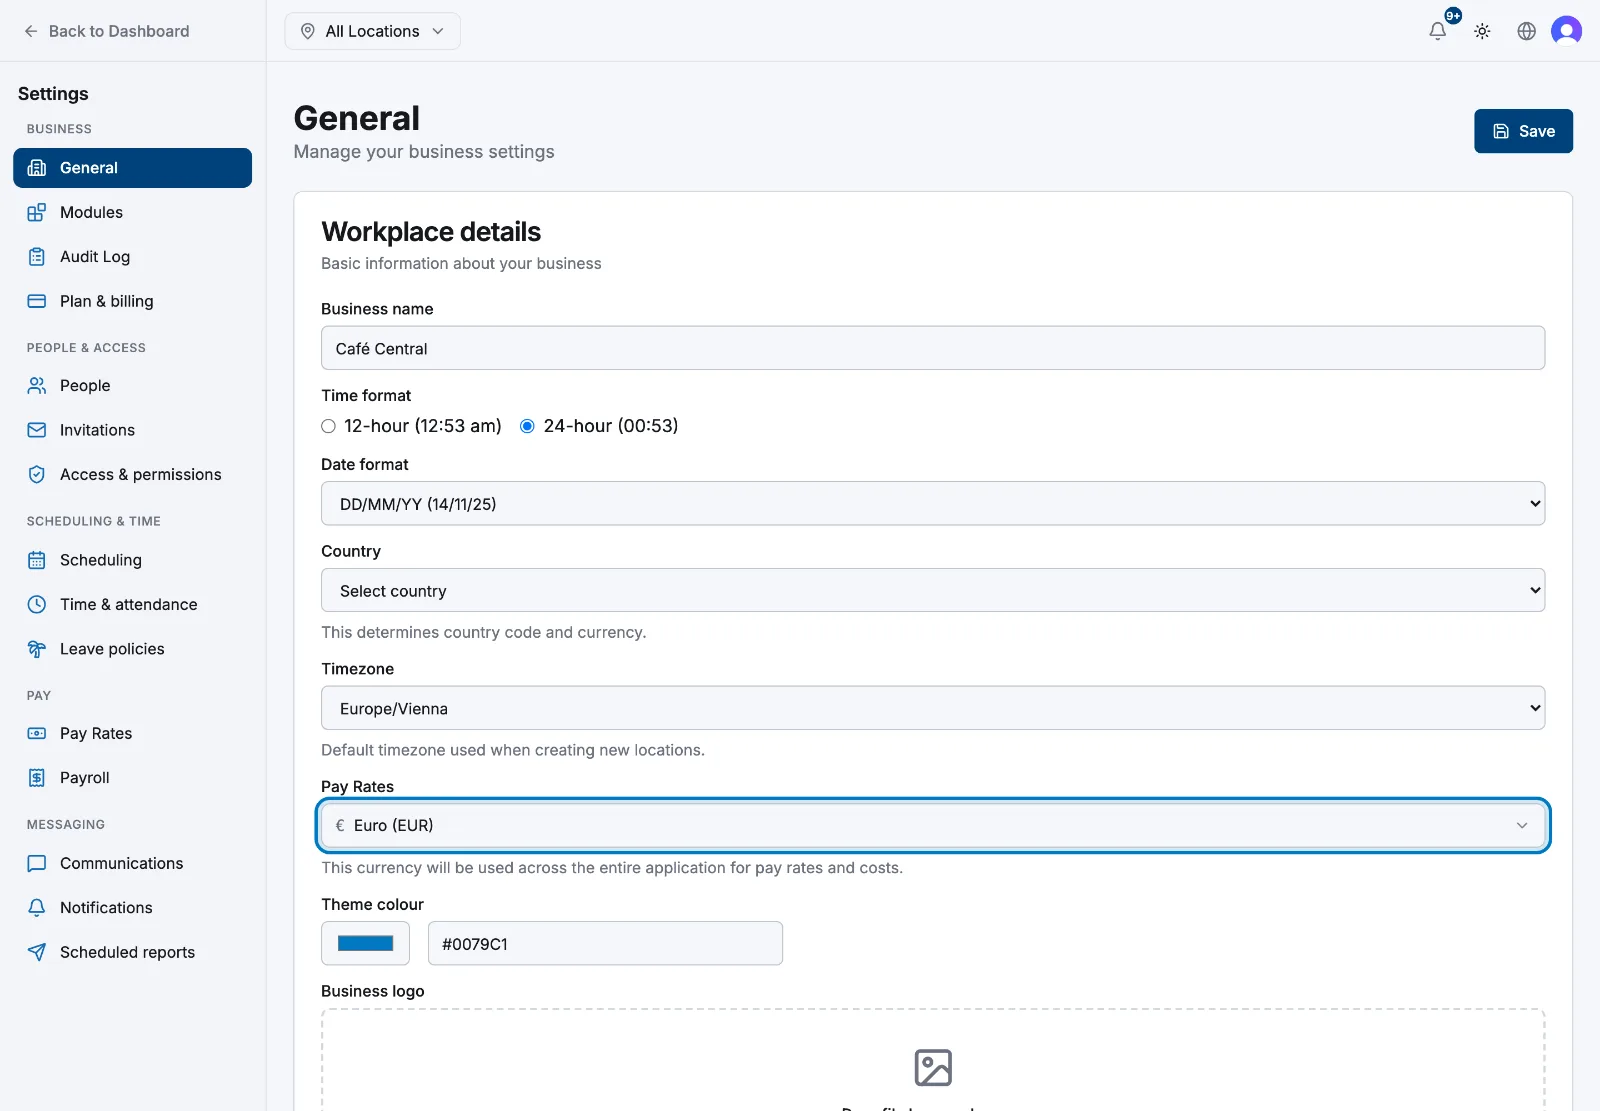
- 6
Choose how dates and times display
Under Time format, choose 12-hour or 24-hour. Under Date format, pick the order that suits your region (for example DD/MM/YYYY or MM/DD/YYYY). These control how times and dates appear everywhere for your whole team. They don't change any recorded hours.
- 7
Save your changes
Select Save in the top-right corner. Your settings apply straight away across the web app and everyone's mobile app.
What's next
With your basics in place, the natural next steps are to add your first location and choose which features you use.
Related articles
Still need help?
Contact support