
Areas and micro-scheduling
Split a location into areas and schedule people across them within one shift.
Areas let you split a site into the parts people actually work: Bar, Kitchen, Front desk, Till 2. Once a location has areas, any shift you create there can name one, so the week tells you not just who's in but where in the building they are.
- 1
Open the location's Areas tab
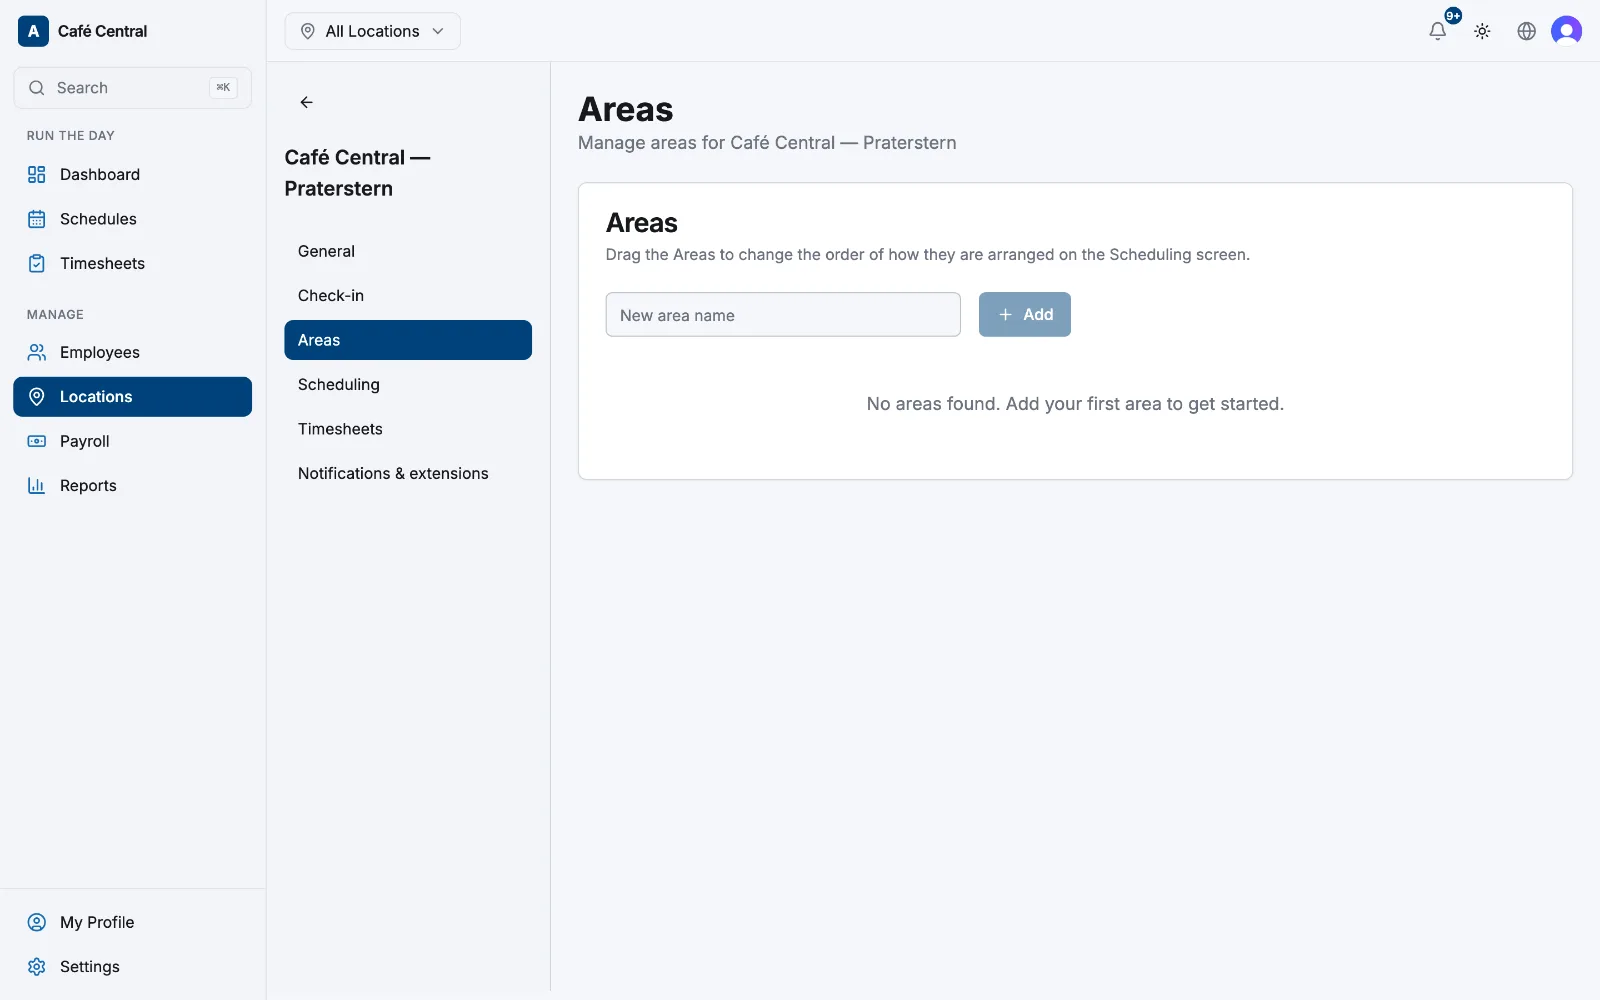
Select Locations in the sidebar, choose a location, then select Areas in the side panel.
- 2
Add your areas
Type a name into New area name and select Add. Repeat for each part of the site. Keep the names short: they have to fit on a shift card.
- 3
Rename or recolour one
The pencil icon opens Edit Area, where you can change the Area Name and its Color; the trash icon deletes it. The colour is a marker for this list. Shift cards stay tinted per person.
- 4
Put an area on a shift
On Schedules, open a shift and use the Role field. It lists the areas defined on the location you picked, so it reads Select a location first until you choose one, and No areas defined if that site has none yet.
Micro-scheduling a day
There's no separate rotation tool. You move someone between areas by giving them more than one shift in the day, each with its own area: 08:00–12:00 in Kitchen, then 12:00–16:00 in Counter. Back-to-back shifts save fine as long as they don't overlap, and the same trick works across two sites when the person is assigned to both.
What the area is good for
- It shows on the shift card in the grid, and on your team member's own shift in the app.
- The Coverage strip counts staff per area once the grid is narrowed to a single site with the All Locations switcher. Select a day to open Coverage Detail for the full breakdown.
- It comes out as the Role column when you export the week.
- Copying a week brings the areas across with the shifts.
Areas stay on the scheduling side. They aren't recorded on timesheets or in reports.
Related articles
Still need help?
Contact support