
When someone leaves
Disable a person's access, erase their personal data, free their phone, and bring a returning employee back to their old record.
Two separate decisions end a person's time in your company. Disabling takes away their access and keeps everything. Erasing removes their personal data.
Disable their access#
- 1
Tidy up first
Disabling does not close a running shift and does not remove or reassign the person's future shifts. End their open shift (see Editing and adding timesheets), then reassign their future shifts or cancel them. A published shift is cancelled, not deleted. On Pro, first download their Working-time records: that list holds active people only.
- 2
Open Employees
On the web, open Employees and find the person.
- 3
Select the disable icon
On their card or row, select the icon of a person with a minus sign. It reads Disable when you point at it. Confirm.
You can also set Status to Disabled in the edit dialog of their Employment tab. Save Changes there stores every field in the dialog.
What happens next:
- The person loses all access at once, on the web and in the app. They can still sign in, but only reach a screen titled Access ended with a sign-out button.
- Push notifications to their phones stop.
- Their seat is free: a disabled person uses none.
- Nothing else changes. Their record, personal data, timesheets, shifts and registered device stay as they were.
The company's only active admin cannot be disabled: This is the company's only administrator. Make someone else an administrator first, then try again.
To bring them back, select the icon in the same place, now a person with a tick. It reads Enable when you point at it. That needs a free seat and, for a manager or admin, room within that role's limit. They get the same record with everything on it and sign in with the login they already have.
Erase their personal data#
Disabling keeps the personal data. To remove it, open the person's
Employment tab and scroll to
Danger zone. The tab is listed while
Payroll is on. With it off, open the person's profile
and replace personal at the end of the address with employment.
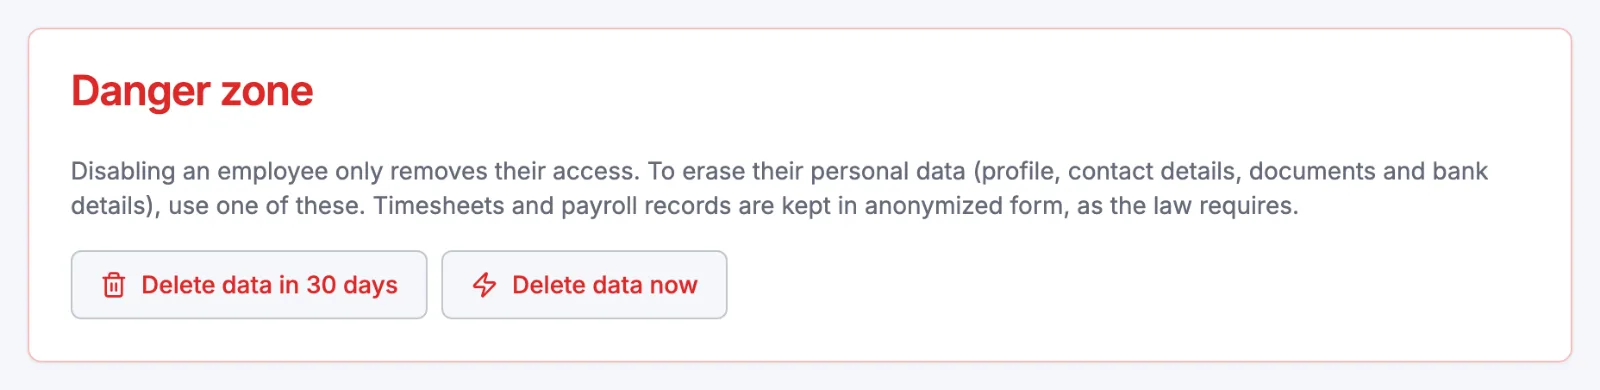
- Delete data in 30 days, then Schedule deletion: access ends at once and the personal data is erased 30 days later. Until then the data is still there. A notice at the top of the tab shows the date. Any admin can select Cancel deletion during the 30 days. Cancelling leaves the person disabled; enabling them is a separate step. Always cancel before you enable.
- Delete data now: erases at once, with no 30 days and no way back. Type the person's full name exactly as it is on the record, then select Delete permanently.
Erased are the name, email address, phone number, photo, preferred name, pronouns, date of birth, social security number, the uploaded document, emergency contact, address, bank details and registered devices. The login is deleted. The record stays as "Deleted User", so time and payroll records keep an owner.
The other admins and the managers of the person's locations are notified. The person is not.
The same notice appears when a person deleted their own account: only an admin can cancel that within the 30 days. To erase your own data, see Deleting your account.
Free their phone#
Disabling does not release the person's registered phone. Erasing their data does. To free it without erasing, open their Personal tab and find Device Registration:
- An admin selects Release & reset allowance.
- A manager selects Release device, for an employee who shares a location with them.
More is in One phone per person: device binding.
When they come back#
If they are only disabled and still have their login, Enable is the simplest way: everything stays.
If they can no longer use that login, an admin invites their old address again while they are still disabled. After you send the invitation, Atteny asks whether this is the same person.
In the invite dialog on Employees, select Same person, reconnect their record or New person.
Open More, Invite Employee. The alert Worked here before offers Same person, reconnect and New person.
- Same person. When they accept, their old record is switched back on, so their timesheets, payslips and leave history stay with them. They get the role and start date of the new invitation. Their personal details, photo, uploaded document and registered devices are cleared, and they fill them in again. What the invitation does not name stays as it was, so check their pay rate and Overtime allowed afterwards. They keep their old work locations and get the new one added: save their work locations once more in the edit dialog of the Employment tab, so the right main location applies.
- New person. The person who accepts gets a new, separate record, unless they sign in with the very login the former employee used.
While a data deletion is scheduled, the address cannot be invited: cancel the deletion first. After the data has been erased, the same address can be invited again and joins as a new person with no link to the old record.
Related articles
Still need help?
Contact support